Integrating the Strips Guard door/window sensor with Home Assistant
(Originally posted on medium 11-09-2018).
The Strips Guard is a general door/window-sensor which communicates over the Z-wave protocol. It has a thin design, and can easily be mounted between a door/window and it’s corresponding frame. It also claims a ten year battery-life. My particular use-case was to monitor and include a door in some automations, to which the Strips Guard seemed to be a nice fit.
Setting up the sensor
Initially I wanted to mount the sensor between the frame and the door. Sadly, the gap between the two was too narrow, and in the end I had to mount the sensor directly on the inside of the door.
Initially I thought the gap between the two magnets would be too wide, but this turned out not to be an issue.
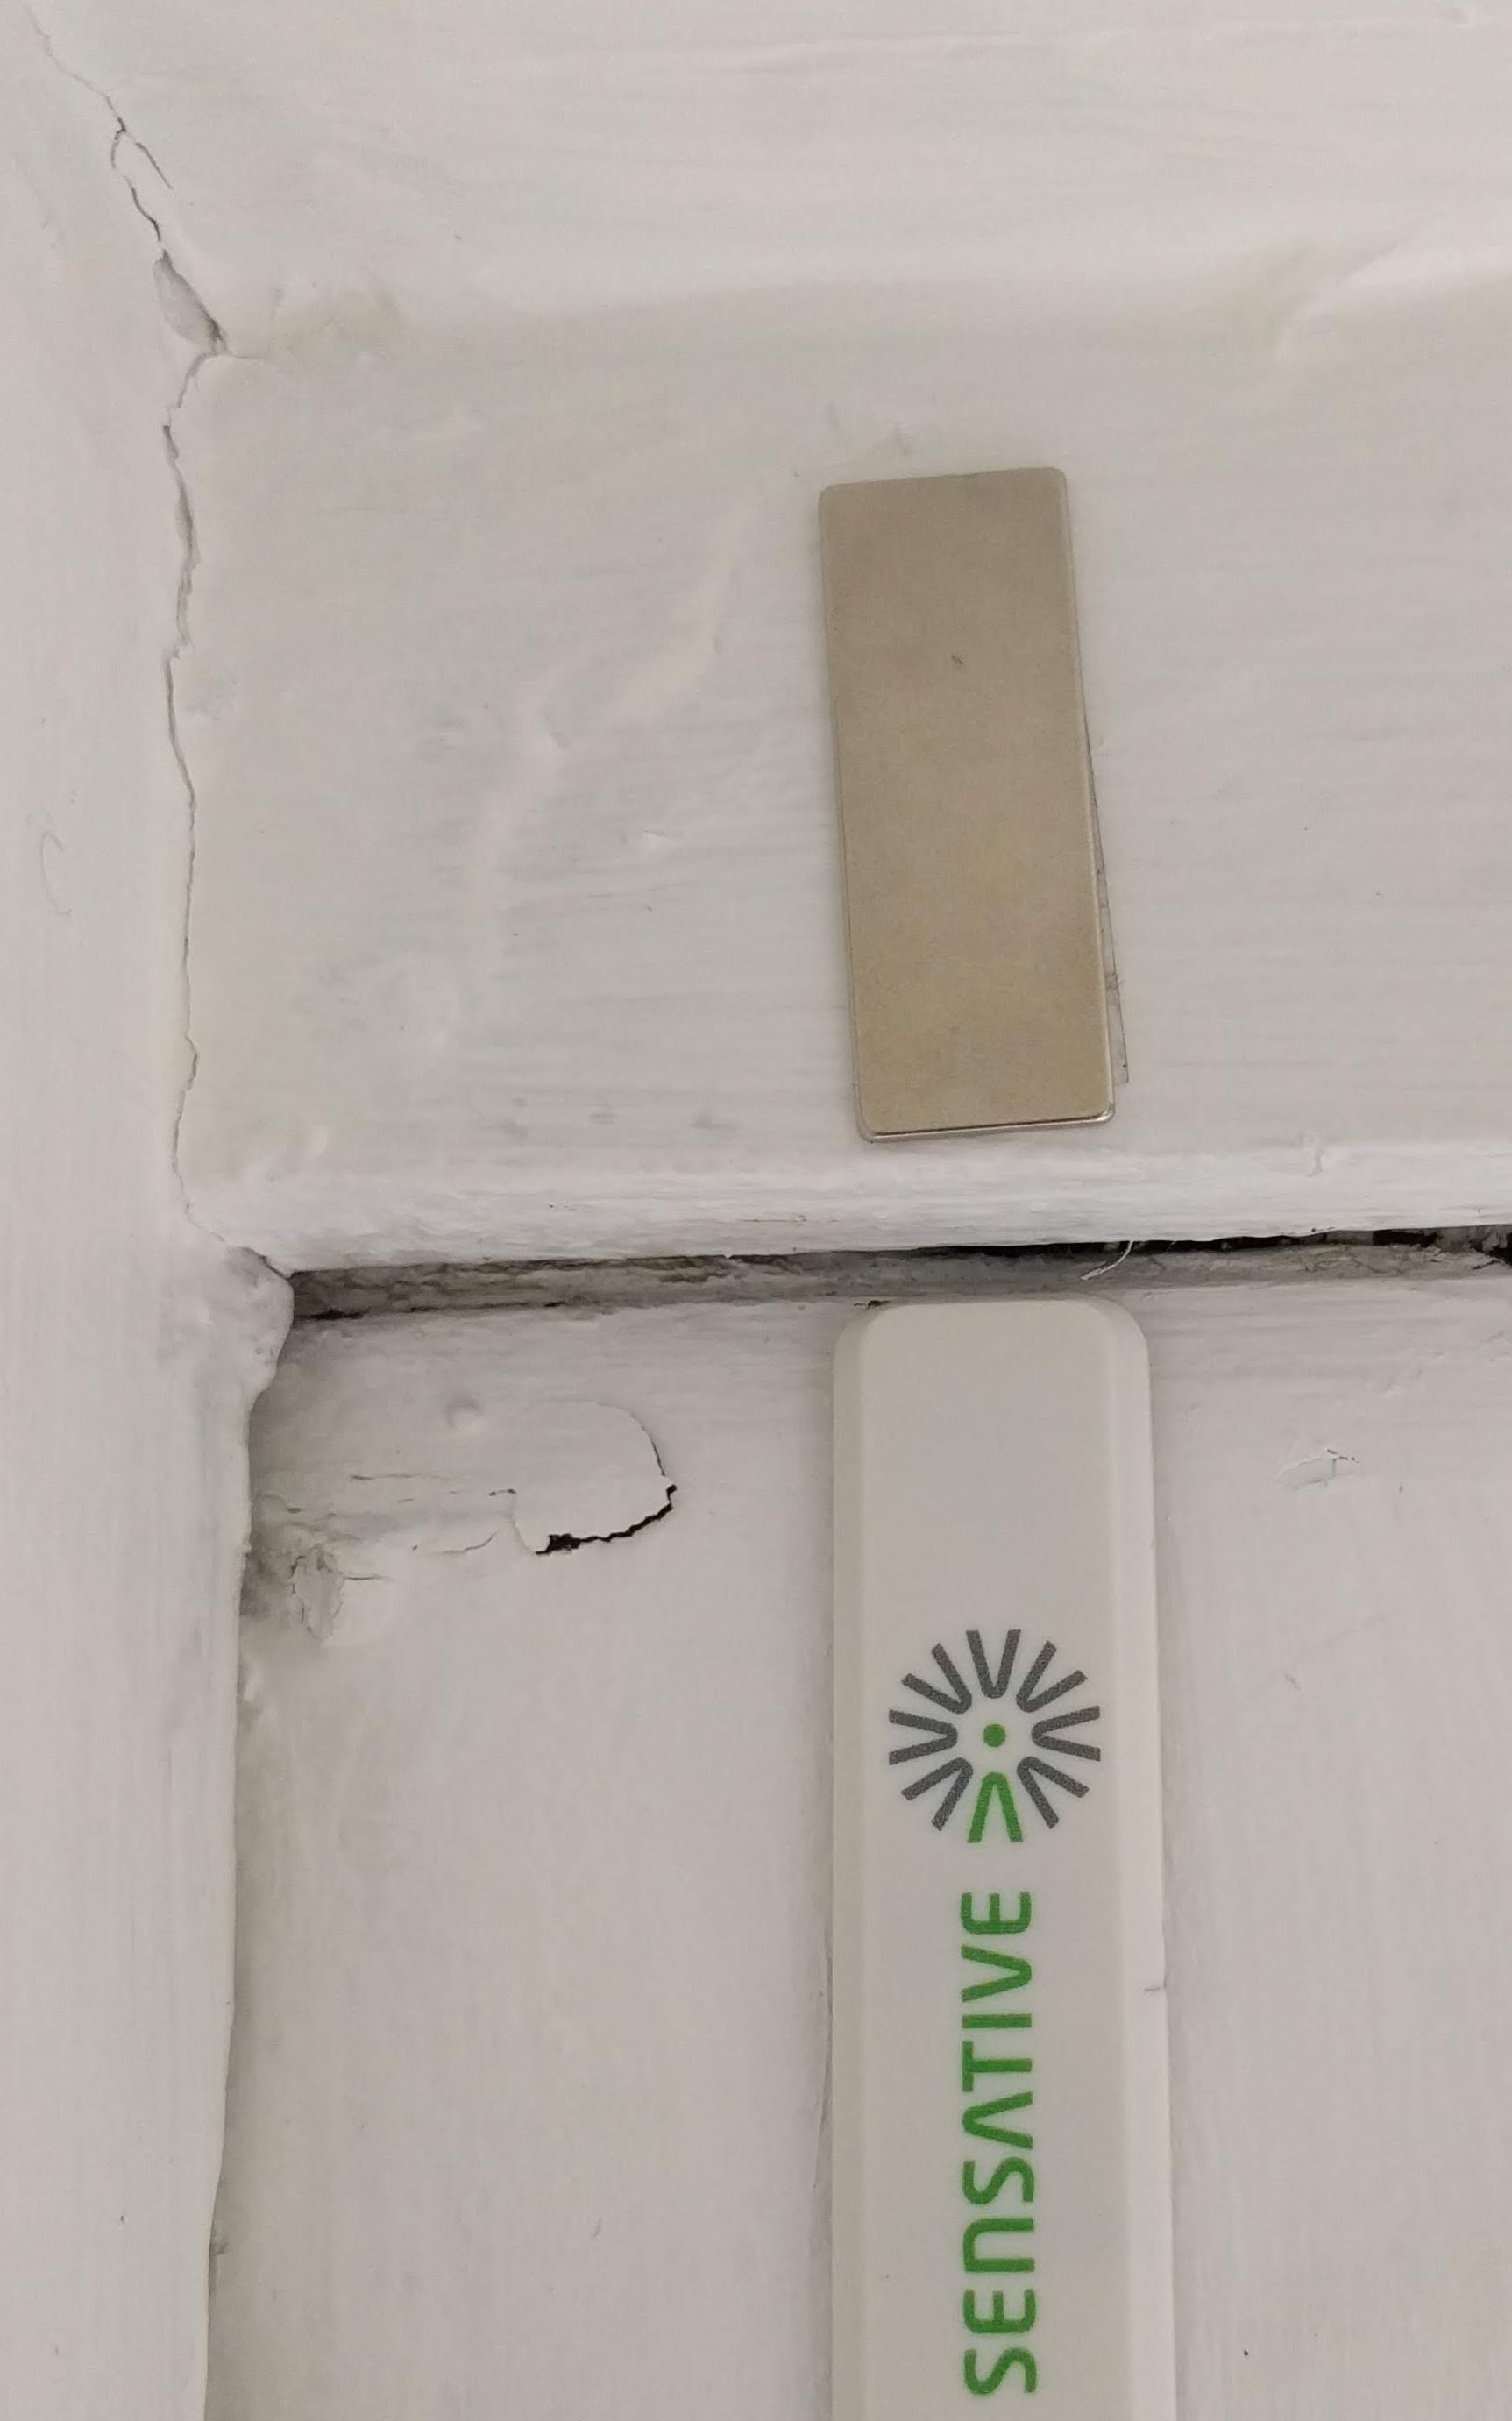
Sensor as seen from the front
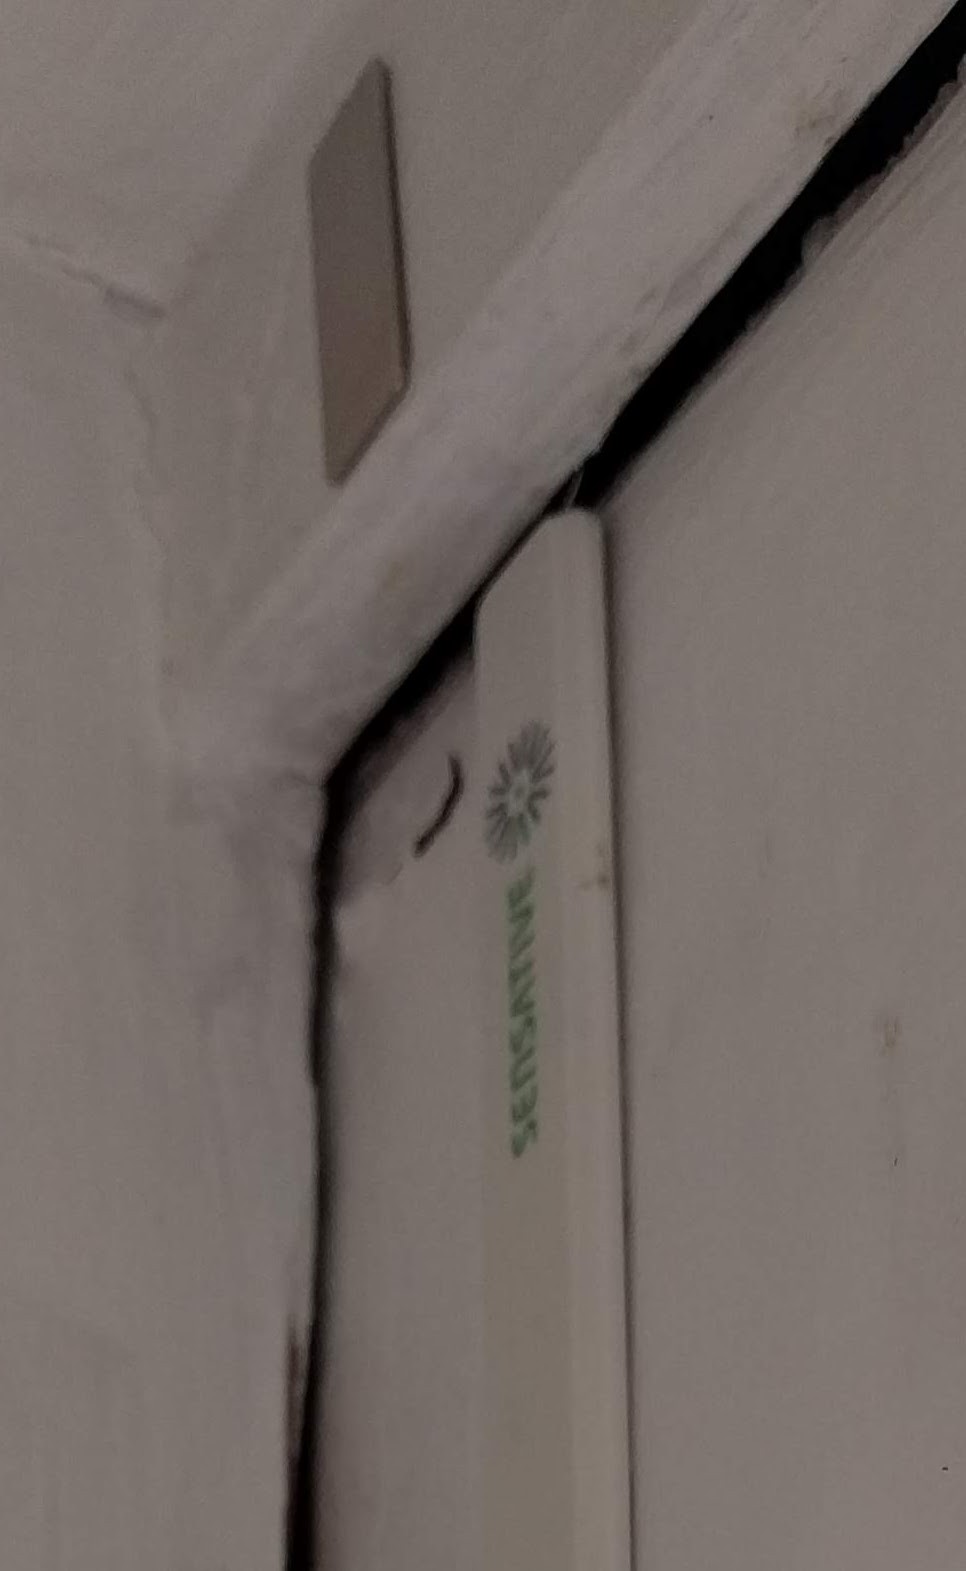
This gap posed no problem detecting the open/closed state of the door
Z-wave
Adding the sensor to Home Assistant was just a matter of adding a new node to my existing Z-wave network. I use the standard Z-wave component and Aeotec Z-stick for my setup.
Issues with open/closed state
The part I found a bit confusing was discovering which sensor value represented the open and closed state of the door.
The correct identifier in Home Assistant is named sensor.sensative_strips_access_control.
The value of open is 22, while the value of closed is 23. This logic can easily be wrapped within a Template Binary Sensor:
...
- platform: template
  sensors:
    your_door_sensor_reference_name:
      friendly_name: "Some friendly name for door"
      device_class: door
      value_template: "{{ states('sensor.sensative_strips_access_control') | float <= 22 }}"
...
...
binary_sensor: !include binary_sensor.yaml
...
Remember to restart Home Assistant after you’ve added the new Template Binary Sensor to your configuration.
Unless your configuration has customization enabled by default, an icon representing the door will be displayed immediatly after a restart of Home Assistant. If you have customization enabled you’ll have to include the new binary sensor entity manually in a custom group.
Since the device_class is set to door it will have a corresponding door-icon when displayed in the dashboard:
![]()
A door-icon to represent the state of the door visually
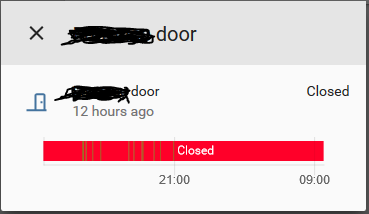
When clicking the icon, it displays the logs of the sensor
Including the door sensor in a custom group
The new binary sensor can now be included in custom groups:
...
some_group_name:
  name: "Friendly name of HA group"
  view: yes # Must be enabled to have the group be visible in HA dashboard
  entities:
    - binary_sensor.your_door_sensor_reference_name
...
Referencing door sensor in automations
Naturally we want to have some automations for when the door is opened or closed. Here is a simple example of a trigger activated when the door has been open for 10 minutes:
...
# Trigger automation if door has been opened and has stayed open for 10 minutes
- id: door_sensor_automation_id
  alias: "Some friendly name for automation"
  trigger:
    platform: state
    entity_id: binary_sensor.your_door_sensor_reference_name
    from: 'off'
    to: 'on'
    for:
      minutes: 10
...
Closing thoughts
The Strips Guard is overall easy to setup and integrate into Home Assistant. The sensor is plain without any flashing exterior, which makes it blend in nicely with most environments.
The downsides of the Strips Guard is it’s price tag. Unless you want to mount it between the door/window and it’s corresponding frame, I would argue that you have less pricey alternatives available.